
Gone are those days when people had to use keyboards to write commands in order to do even simplest task like opening a folder in a pc – I’m talking about those days when “DOS” was the only operating system. Today, with the graphical operating systems, operating a PC became extremely easy. To do simple day-to-day tasks, like using MS office, sending an email, watching a movie, etc. on a PC, one doesn’t need any technical knowledge. However, sometimes things can get complicated and really scary for the normal end users, where one can’t fix the problem without professional help. Such a situation is hard to drive corruption. If your hard drive gets corrupted and you can’t access the data inside of the same, you’d definitely need a professional data recovery service – and the salvagedata hdd recovery service is the best in this regard.
Most of us already went through this situation when one sees particular windows messages like “windows detected a hard disk problem” or “critical hard disk error had been detected.” There can be countless reasons. However, the result is always the same; that your hard drive has been crashed or corrupted. So, what should you do in such case?

Step by step data recovery process
- Without wasting any single second, start backing up all of your important data like pictures, videos, documents, etc. in an external hard drive or USB drive whatever available at that moment. Because such warning messages could mean only one thing, that your HDD has already been corrupted or started to corrupt. Hence you have only limited time to take a backup of all those files you consider important.
- If the laptop or desktop has been powered off and you haven’t been able to take back up any important files, let the pc powered off and do not try to power it on again. Powering it on or trying to power it on, may cause additional damage to the hard disk drive and can result in far more expensive data recovery solution.
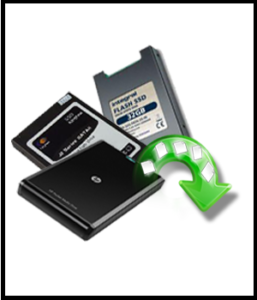
- Now, once the device is powered off, remove the hard disk from your laptop or desktop, if you know how to do it properly or take it to a trained professional to do it for you. Once you have the hard disk removed from your device, you can proceed to the next step.
- This step is crucial, so unless you know what you’re doing, do not try it at home – instead go to a trained hard drive recovery specialist, like Salvage data data recovery service. Now, if you’re dead sure, you can proceed. First, you’ll need a working pc. Then you have to connect that HDD via USB cable to this working PC. Now, power on that second pc and download any free data recovery software. There are plenty of those, even some premium data recovery software packages which offer a free trial. So, just download any one of your choices or based on the user reviews, and fire it up. If the drive is not physically damaged or the damage is not severe, there’s a good chance you’ll be able to recover all or most of your important data.